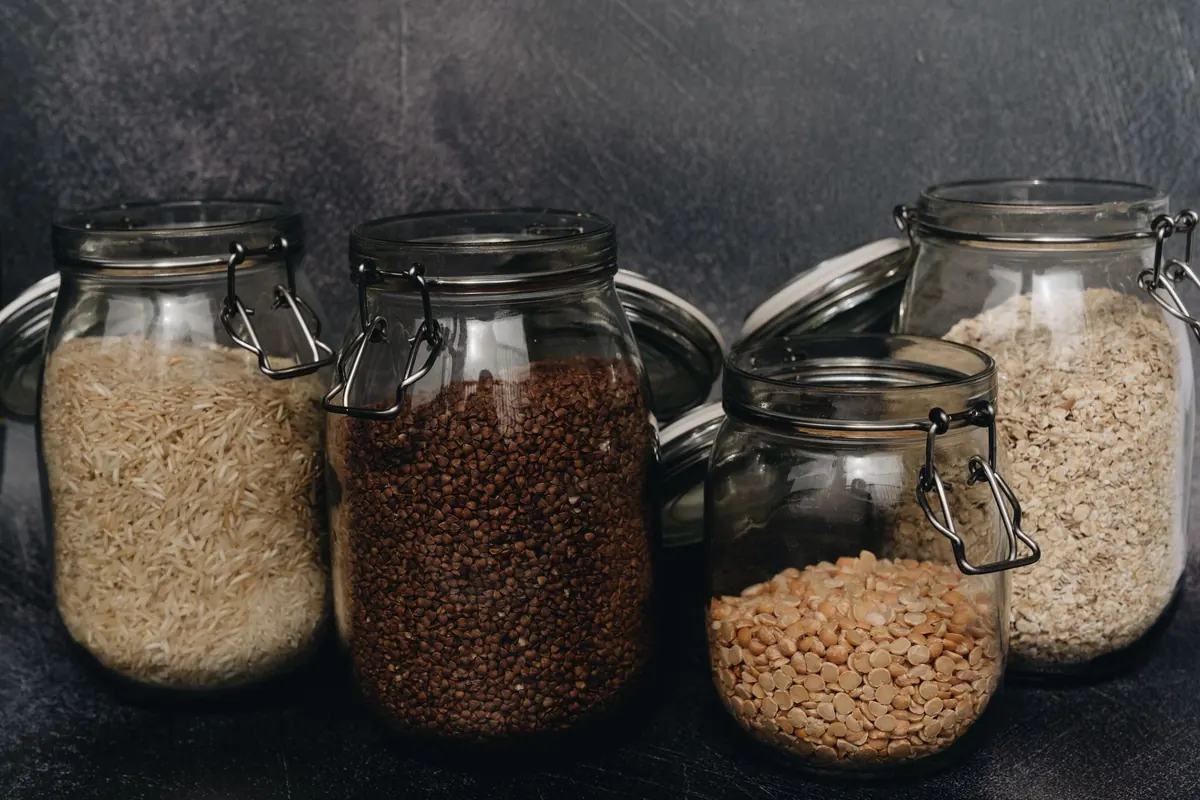
Common Mistakes When Storing Wheat Berries and Flour at Home
A practical home storage guide to wheat berries and flour — moisture control, airtight containers, pest...


Wheat has a reputation as a crop for wide horizons and bigger machines than most of us will ever own. The plant itself is unassuming: a grass that wants sun, decent soil, and a chance to dry out between rains. Give it those and it will reward a small plot with a satisfying crop, even if your "field" is a strip behind the barn or a quarter acre borrowed from a neighbour.
The trick is in the details. Wheat fails more often from a wet hollow, a late sowing, or a harvest left two weeks too long than from any mystery of agronomy. Here is how to get the basics right the first time.
Before you order a single grain, walk your land and look at it honestly. Wheat needs at least six hours of direct sun and soil that drains. A patch that holds water in February will smother the roots and leave you with thin, yellow stands that never catch up. If you can dig a hole, fill it with water, and find it still full the next morning, pick another spot.
Avoid frost pockets too. Cold air settles in low corners and behind hedges, and wheat in flower is vulnerable to a late frost. Gentle slopes and open ground are safer than the hollow at the bottom of the garden, even if the hollow looks tidier.
Soil matters, but not as much as drainage. Wheat tolerates a range of soils and prefers a pH around 6 to 7, so a soil test is worth the small cost before you commit. Avoid ground that grew wheat or grass leys last year if you can — volunteer cereals and grass weeds such as wild oats make a beginner's crop look ragged fast. A field that grew beans, peas, or a root crop last season is close to ideal.
Finally, check access. You need room to get a mower, a tiller, or a borrowed combine to the plot, and a firm, dry place to spread grain out afterwards.
Winter wheat is sown in autumn, usually from late September into November depending on your climate. It needs a period of cold to switch from leafy growth to grain production, then uses early spring moisture to run ahead of weeds. It generally outyields spring wheat, but it must survive winter.
Spring wheat goes in as soon as the ground can be worked in early spring. It skips the frost risk of autumn establishment and suits cold climates and short seasons, or plots that were under another crop until late in the year. Yields are usually lower and the harvest comes later.
Whichever you choose, buy certified seed from a supplier who sells for your region and ask what the neighbours grow — local experience beats a catalogue description. Keep the seed tag; it tells you the variety, the germination percentage, and the year of production, all of which you will want next season.
Wheat wants a firm, fine seedbed with moisture at sowing depth. Loose, fluffy soil dries out and leaves seed sitting in dust. The old test still works: walk across the prepared ground and see whether your boot leaves a print rather than sinking.
Broadcasting by hand is fine on a small area, but you lose the weed-shading benefit of rows and the rate becomes guesswork. Halve your seed and walk the plot twice in crossing directions to spread it more evenly. Watch for birds pulling seed from shallow sowings; a light harrow pass after sowing helps.
Wheat is not a demanding plant, but it does respond to nitrogen at the right moment. A modest application as growth starts in spring, followed by a second at stem elongation, keeps the crop green without pushing soft, floppy growth that lodges in wind. On a garden-scale plot, compost and a balanced organic fertiliser applied at the same stages will do the job. If you are farming commercially, take local agronomy advice on rates and timing.
Walk the plot weekly once it tillers. You are looking for three things: weeds, disease, and anything chewing the leaves. Broadleaf weeds are easiest to deal with when small. Rusts and septoria show up as orange or grey-brown blotches on leaves and thrive in damp, mild weather, so keep an eye on the lower leaves after wet spells. Early sowing and good airflow through the stand reduce the pressure.
Water is usually not something you control at field scale, but on a small plot, irrigation during dry spells between stem elongation and grain fill can lift yield noticeably. Water deeply and less often rather than lightly and frequently.
This is where first-time growers lose grain. Wheat does not announce its readiness; it changes colour over two or three weeks, and the window between ripe and shattered is shorter than you expect.
Start checking when the crop turns from green to gold. Walk in and pick heads from several different places, not just the edge. Rub the grain out in your palm and bite it. At the dough stage it is soft and squashes; at ripeness it is hard enough to crack between your teeth with a distinct snap. The thumbnail test is just as good: a ripe grain dents but does not mash.
Look at the whole plant, too. The stem below the head should be dry and straw-coloured, and the heads should nod slightly as they lose moisture. Grain moisture for combining is generally aimed at around 14 to 15 percent, though many growers start slightly higher and dry the crop afterwards. If you can, buy or borrow a moisture meter — it removes the guesswork. If heads ripen unevenly, or the forecast is a week of rain and the crop is dead ripe, cutting early and drying is better than watching grain shatter in a gale.
On a small plot, a scythe, sickle, or string trimmer gets the crop down; on a larger one, hire a contractor with a combine and ask them to set the drum carefully so grain is threshed but not cracked. Cut in the morning when there is a little dew if grain is shelling out too easily, and keep the cut crop off damp ground.
Dry grain before storage. Spread it thin in a dry, ventilated shed, turn it daily, and let air do the work. Anything above about 14 percent moisture risks mould and heating in the bin. Store in clean, dry containers that rodents cannot enter, keep it cool, and check it monthly. A simple germination test in spring — a damp paper towel and ten grains on a windowsill — tells you whether your seed is worth saving.
Expect the first crop to be part experiment. Keep notes: sowing date, rate, soil condition, when the crop headed, when you harvested, and what the grain weighed or looked like. Those notes are worth more than any general guide, because your plot has its own weather, soil, and weed history.
Plan a rotation so wheat does not follow wheat, and leave a season of a different crop or a green manure in between. Keep the plot edges mown to reduce weed seed. And be patient with yield: a small plot managed by hand will rarely match a well-run field, but good grain for flour, feed, or seed is entirely within reach. Get the drainage, sowing depth, and harvest timing right, and the rest of the learning gets easier each year.
Photo: Beyza Yalçın / Pexels
A practical home storage guide to wheat berries and flour — moisture control, airtight containers, pest...
A practical look at how stone mills grind grain, why the flour comes out in so many particle sizes, and...
A same-day whole wheat focaccia with olive oil and rosemary — 80% hydration, folded rather than kneaded,...